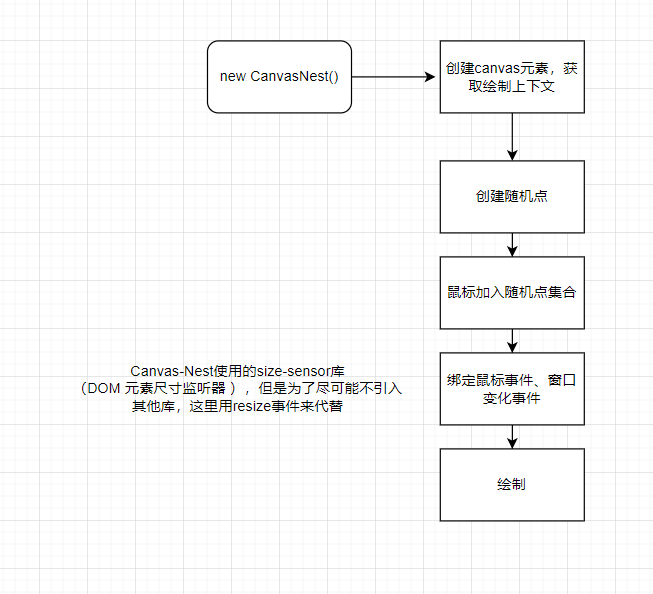
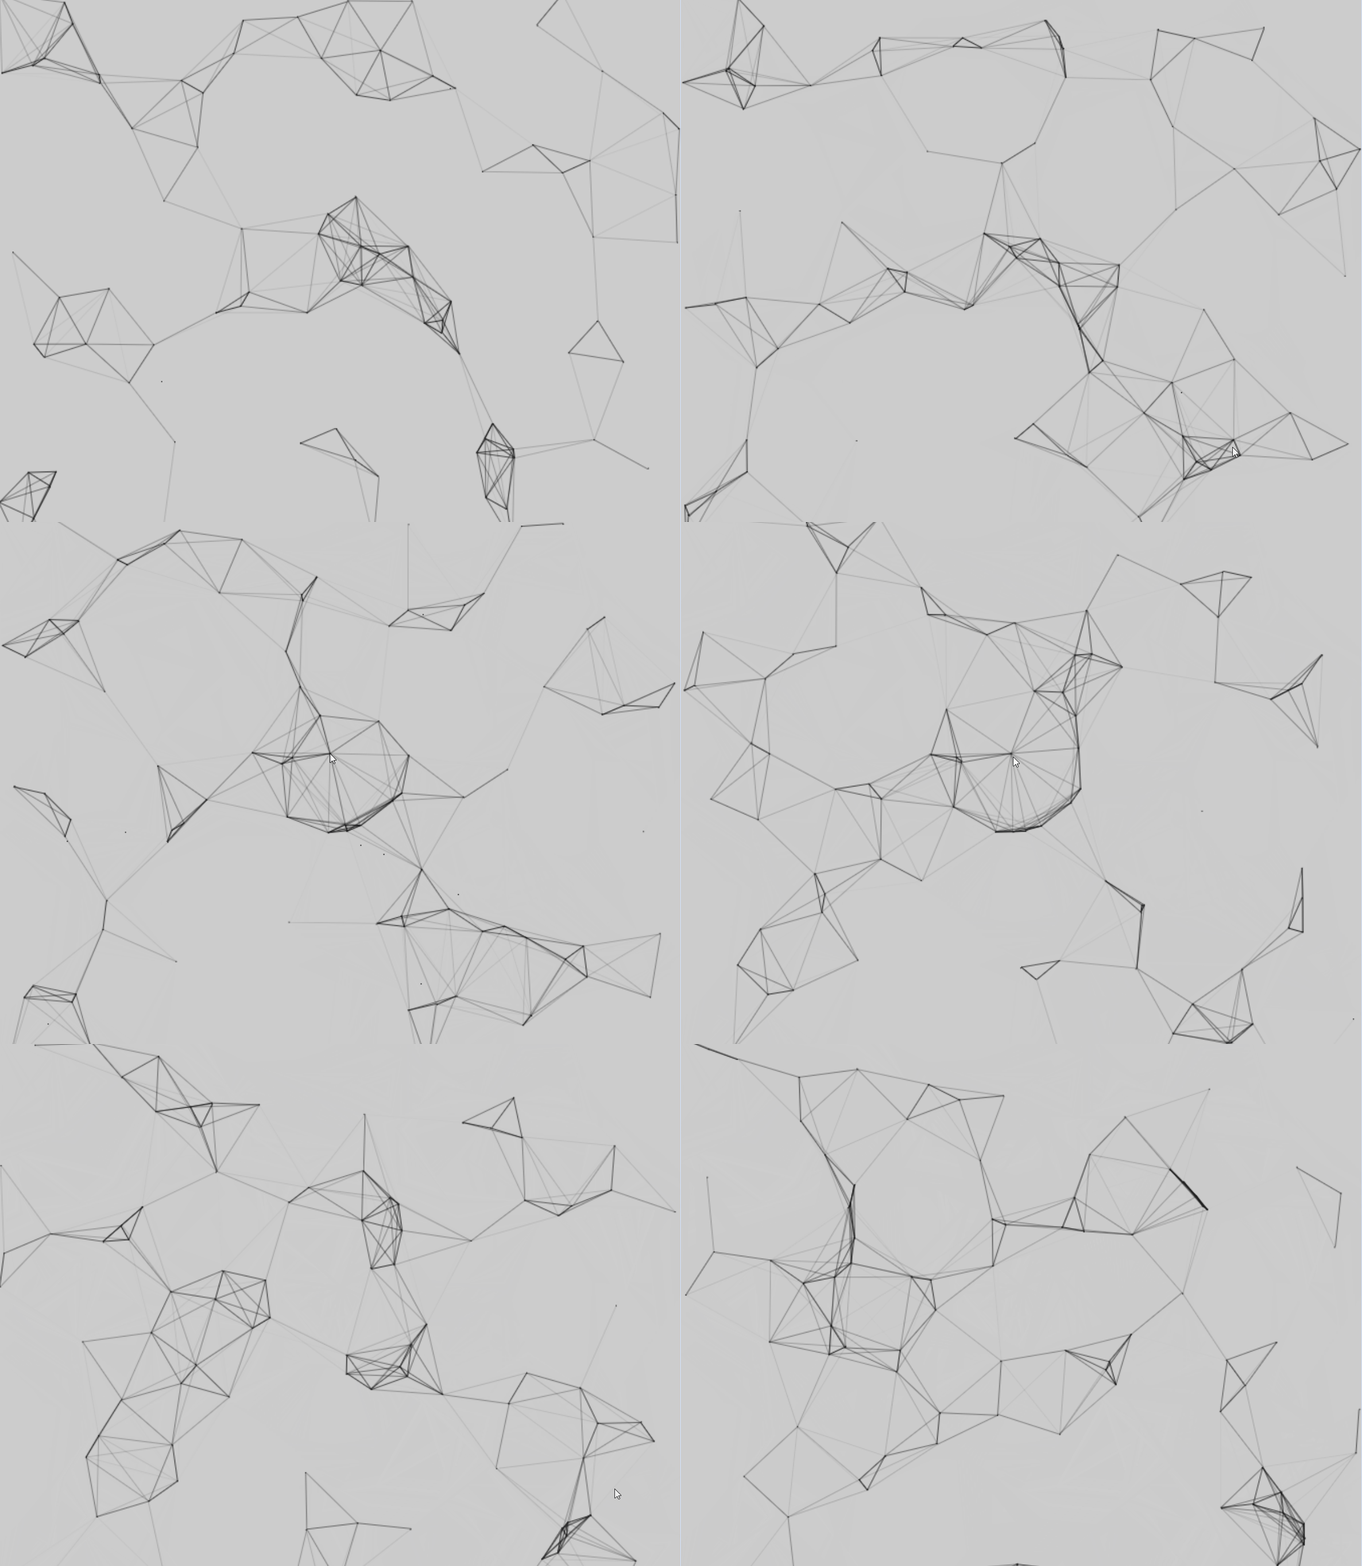
1
2
3
4
5
6
7
8
9
10
11
12
13
14
15
16
17
18
19
20
21
22
23
24
25
26
27
28
29
30
31
32
33
34
35
36
37
38
39
40
41
42
43
44
45
46
47
48
49
50
51
52
53
54
55
56
57
58
59
60
61
62
63
64
65
66
67
68
69
70
71
72
73
74
75
76
77
78
79
80
81
82
83
84
85
86
87
88
89
90
91
92
93
94
95
96
97
98
99
100
101
102
103
104
105
106
107
108
109
110
111
112
113
114
115
116
117
118
119
120
121
122
123
124
| (() => {
const createCanvas = (el) => {
const canvas = document.createElement("canvas");
canvas.width = el.clientWidth;
canvas.height = el.clientHeight;
el.appendChild(canvas);
return canvas;
};
class CanvasNest {
constructor(el, config) {
this.el = el;
this.config = {
color: "0,0,0",
pointColor: "0,0,0",
count: 100,
opacity: 0.2,
...config,
};
this.canvas = createCanvas(el);
this.context = this.canvas.getContext("2d");
this.points = this.randomPoints();
this.current = {
x: null,
y: null,
zoom: 150,
};
this.pointsContainMouse = this.points.concat([this.current]);
this.bindEvent();
window.requestAnimationFrame(() => this.paint());
}
randomPoints() {
return new Array(this.config.count).fill(0).map(() => ({
x: Math.random() * this.canvas.width,
y: Math.random() * this.canvas.width,
vx: 2 * Math.random() - 1,
vy: 2 * Math.random() - 1,
zoom: 100,
}));
}
bindEvent() {
window.addEventListener("resize", () => {
this.canvas.width = this.el.clientWidth;
this.canvas.height = this.el.clientHeight;
});
document.addEventListener("mousemove", (e) => {
this.current.x = e.clientX;
this.current.y = e.clientY;
});
document.addEventListener("mouseout", (e) => {
this.current.x = null;
this.current.y = null;
});
}
paint() {
const width = this.canvas.width;
const height = this.canvas.height;
this.context.clearRect(0, 0, width, height);
this.points.forEach((point, index) => {
point.x += point.vx;
point.y += point.vy;
point.vx *= point.x >= width || point.x < 0 ? -1 : 1;
point.vy *= point.y >= height || point.y < 0 ? -1 : 1;
this.context.fillStyle = `rgba(${this.config.pointColor})`;
this.context.fillRect(point.x - 0.5, point.y - 0.5, 1, 1);
for (let i = index + 1; i < this.pointsContainMouse.length; i++) {
const p = this.pointsContainMouse[i];
const dx = point.x - p.x;
const dy = point.y - p.y;
const distance = Math.sqrt(dx * dx + dy * dy);
if (distance < point.zoom) {
if (p === this.current && distance >= 0.8 * point.zoom) {
point.x -= 0.03 * dx;
point.y -= 0.03 * dy;
}
const percentage = (point.zoom - distance) / point.zoom;
this.context.lineWidth = percentage;
this.context.fillStyle = `rgba(${this.config.color}, ${percentage})`;
this.context.beginPath();
this.context.strokeStyle = `rgba(${this.config.color})`;
this.context.moveTo(point.x, point.y);
this.context.lineTo(p.x, p.y);
this.context.stroke();
}
}
});
window.requestAnimationFrame(() => this.paint());
}
}
new CanvasNest(document.body);
})();
|


 node-id3进行音乐tag编辑
 简单探析canvas-nest